NSFW AI Image Upscaler for Adult AI Artwork
Sometimes an AI-generated image has the composition you want but not the visual clarity. Fine fabric, hair texture or background lines may look soft when viewed larger. An NSFW AI image upscaler focuses on improving the apparent detail of an existing AI image rather than inventing a completely new scene. For original adult artwork, that can be a practical step between your first successful render and a more polished result.
PornX's editing experience includes an Upscale-related workflow in its documentation. This page is about the specific task of enlarging and refining AI-generated adult art, not replacing the main image editor or promising that every visual defect can be fixed. To explore the current controls and access requirements, open the PornX image editor.
What Image Upscaling Can and Cannot Do
Upscaling increases image size or enhances detail, depending on the model and tool. It may make edges, hair strands and fabric textures appear clearer. It is not a guaranteed method for correcting anatomy, reversing a badly generated face or making an incoherent image accurate. The first question is therefore whether your existing result is *structurally good but soft*, or whether its underlying composition is wrong.
For an explanation of the underlying capability, see the AI image upscaling feature. If you want a step-by-step tutorial rather than a commercial starting page, read how to upscale AI images. This landing focuses on deciding when the editor is worth using and how to judge the finished result.
A useful quality check is to compare the original and edited images at the same on-screen viewing size. If a change only looks better because the image is displayed larger, the enhancement may not have created meaningful detail.
When You Should Upscale an Adult AI Image
Use upscaling when the face, pose, clothing and scene already make sense, but the image appears small or somewhat low-detail. Portraits with subtle hair texture, stylized illustrations with delicate linework and cinematic scenes with carefully placed highlights can all benefit from a cautious quality pass.
Do not upscale as the first response to every error. If the subject has extra fingers, a badly warped accessory or an incorrectly arranged background, an enlargement algorithm may sharpen those faults instead of correcting them. For guidance on diagnosing poor source quality, read fix blurry AI images. Often a better prompt or a cleaner generation is the more effective solution.
Keep the content entirely fictional and clearly adult. Do not use upscaling to improve prohibited real-person intimate images or to modify content in ways that violate PornX's rules, which also place restrictions on image provenance and edits outside permitted workflows.
How to Evaluate a Before-and-After Result
Compare at least four areas of the image. First, inspect the eyes and facial edges for unnatural sharpness. Second, check hair and fabric texture for repeated patterns. Third, look at straight lines and background details. Fourth, step back and decide whether the image still feels coherent as a whole.
A sharper image is not always a better image. Excessive enhancement can introduce halos, plastic-looking skin or unnatural textures. If that happens, prefer the original or try a different source image when supported. Do not confuse a larger file dimension with a guaranteed improvement in perceptual quality.
The broader NSFW AI image editor page explains adjacent tasks such as modifying an existing image. Upscaling is narrower: the priority is image quality and detail, not changing the subject or reconstructing the scene.
Upscale or Inpaint? Choose the Right Workflow
Upscale when the layout, character and background are acceptable, but the finished image lacks detail. Inpaint when you need to change a localized part of the image, provided the current editor supports the relevant action for your content. One tool should not be described as a substitute for the other.
If only a small region needs a correction, see AI image inpainting to understand the difference. If the whole image lacks clarity, evaluate the base generation before spending time on enhancement. The available editor options and their costs may change, so inspect the live interface for the exact workflow and credit requirement.
A good refinement strategy is to save a clean version of the source first, compare one controlled change and decide whether the new output actually improves the image. Avoid running repeated enhancement attempts without a clear quality goal.
Practical Quality Examples
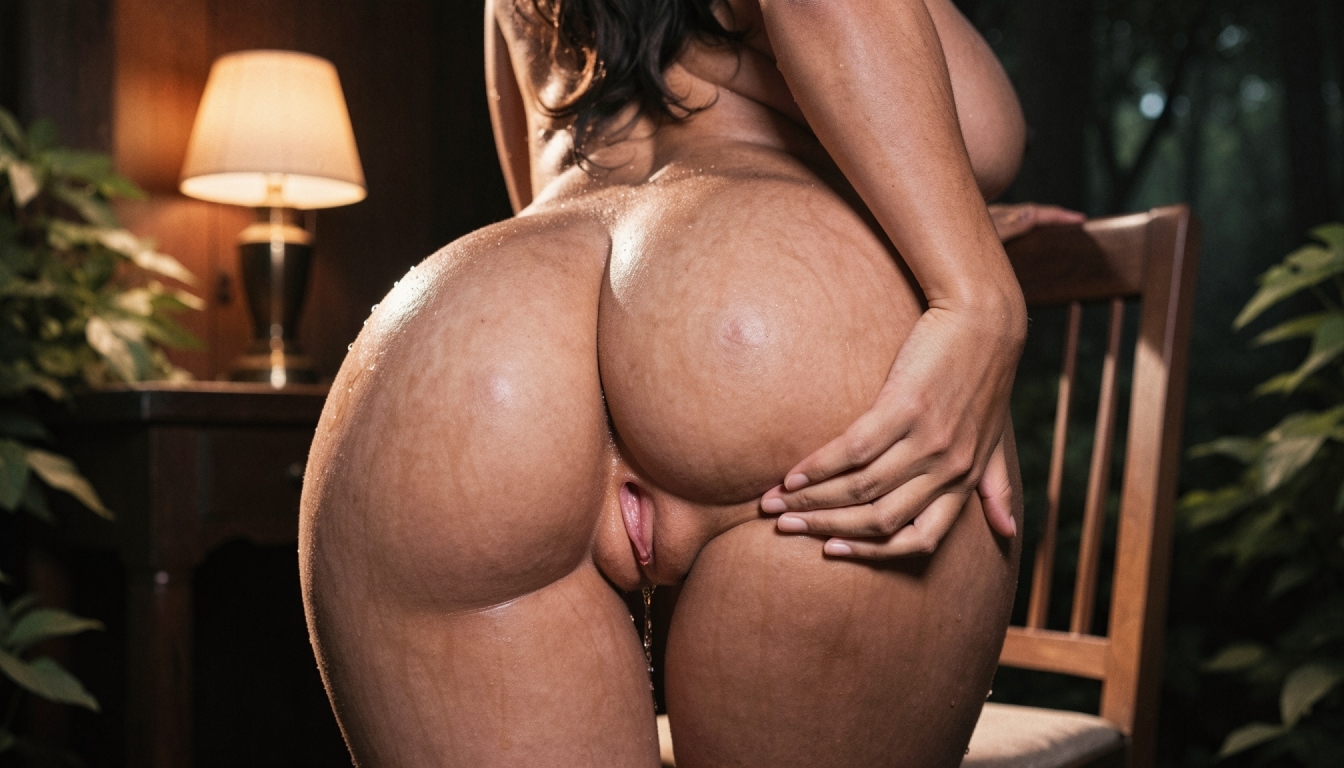
For a photographic adult fictional portrait, check whether the upscaled result preserves a natural skin impression instead of exaggerating pore-like patterns. For an illustrated image, inspect thin outlines and flat-colored regions for unwanted ringing or color noise. For a low-light scene, make sure darker areas retain the intended atmosphere rather than being transformed into harsh artificial edges.
If the source was already blurred because of a low-quality camera effect written into the original prompt, upscaling may work against your art direction. In that case, regenerate with a more appropriate image prompt rather than demanding sharper output from a deliberately soft composition.
If the editor exposes more than one enhancement option, choose based on the problem you actually see. Do not assume a feature named “Pro” is free or that every plan provides identical output dimensions. Consult the current pricing and review Premium character and creative tools for access details.
Frequently Asked Questions
Improve the Image You Already Like
If the composition is good, begin with one measured upscale or quality pass. Compare it with the source, paying attention to faces, contours and textures. If the change adds artifacts, return to the original and fix the underlying generation rather than repeating the same enhancement blindly.